Work in the MixVel Environment
Work in the MixVel Environment
Requirements and Restrictions of Work in the MixVel Environment
At the current stage the agency should meet the following criteria to work in the MixVel environment:
- The agency should be an active customer of LLC “MixVel” (consultation about the contract can be obtained by email: agents@mixvel.com).
- To provide work in the Neutral Session (TCH/ATSS Session) via MixVel, the agency should be accredited as an agency in TCH and have an accredited Internet Point of Sale (IPOS / ERSP). The agency should have an up-to-date description of the terminals and operators for performing secondary operations.
MixVel Boss Web Agency Online Account
Getting started in MixVel Boss
To access the functionality of your personal account MixVel Boss (Picture 1), click "Registration" («Регистрация») and enter your email address. After entering the email address, a link to specify the password will be sent. Follow the link and set a new password.
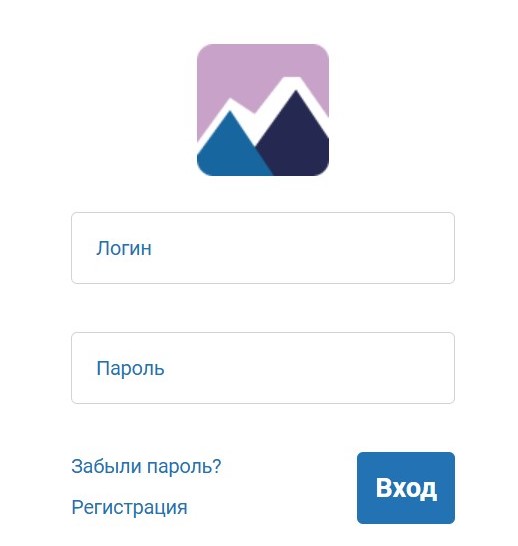
Рисунок 1. MixVel Boss Login page
Main page
The functional menu of the personal account is located vertically on the left side of the main page.
MixVel Boss - consists of two tabs:
"Product releases" («Релизы продукта»)
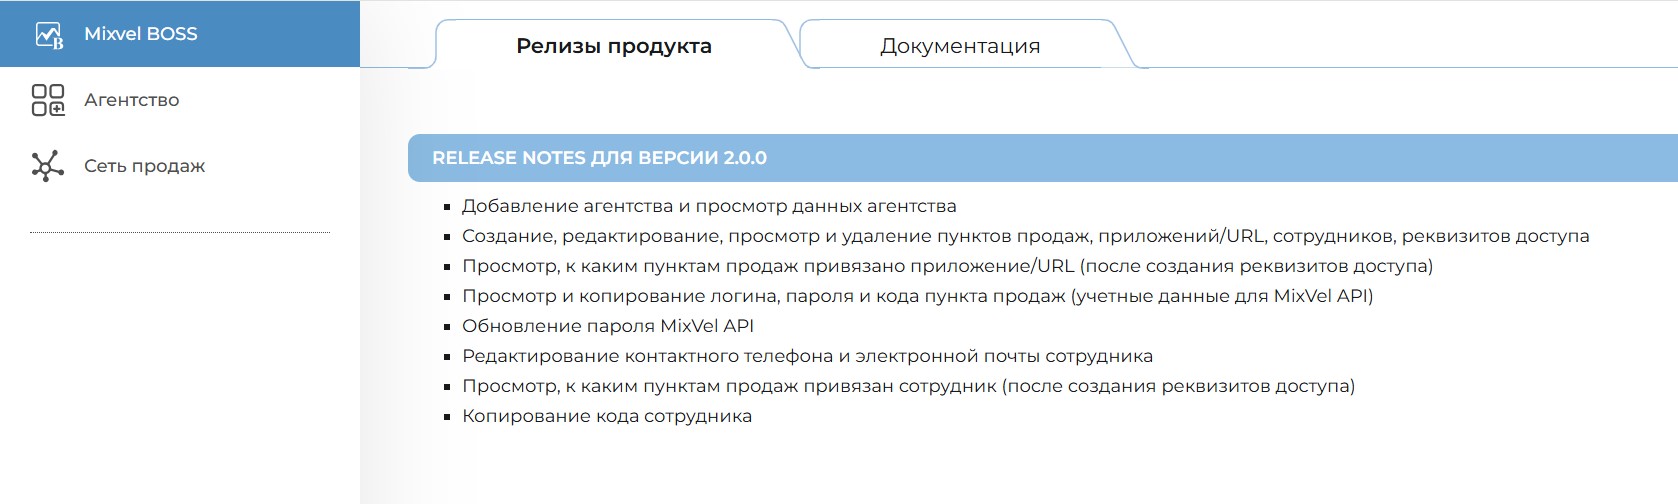
Picture 2. Product releases («Релизы продукта»)
The "Product Releases" («Релизы продукта») tab (Picture 2) contains information about the current release of MixVel Boss, listing the features added in this release.
"Documentation" («Документация»)
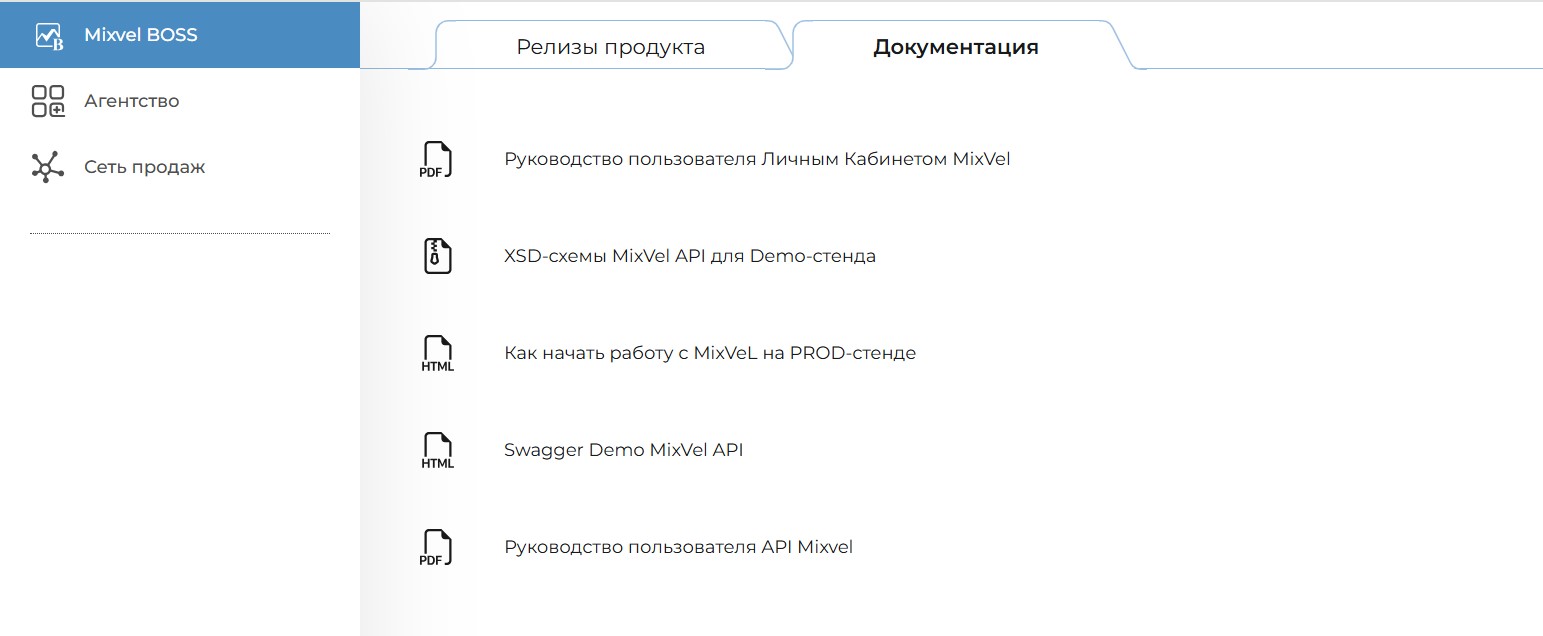
Picture 3. Documentation («Документация»)
The "Documentation" («Документация») tab (Picture 3) contains all documents related to the MixVel environment: - MixVel Personal Account User Manual, - XSD-schemes MixVel API, - Link to the request submission interface (Swagger). The documentation is systematically updated.
Agency – "Agency questionnaire" («Анкета агентства») tab: To register the agency you need to fill out all fields of the questionnaire correctly, click the "Continue" («Продолжить») button and then click the confirmation button.
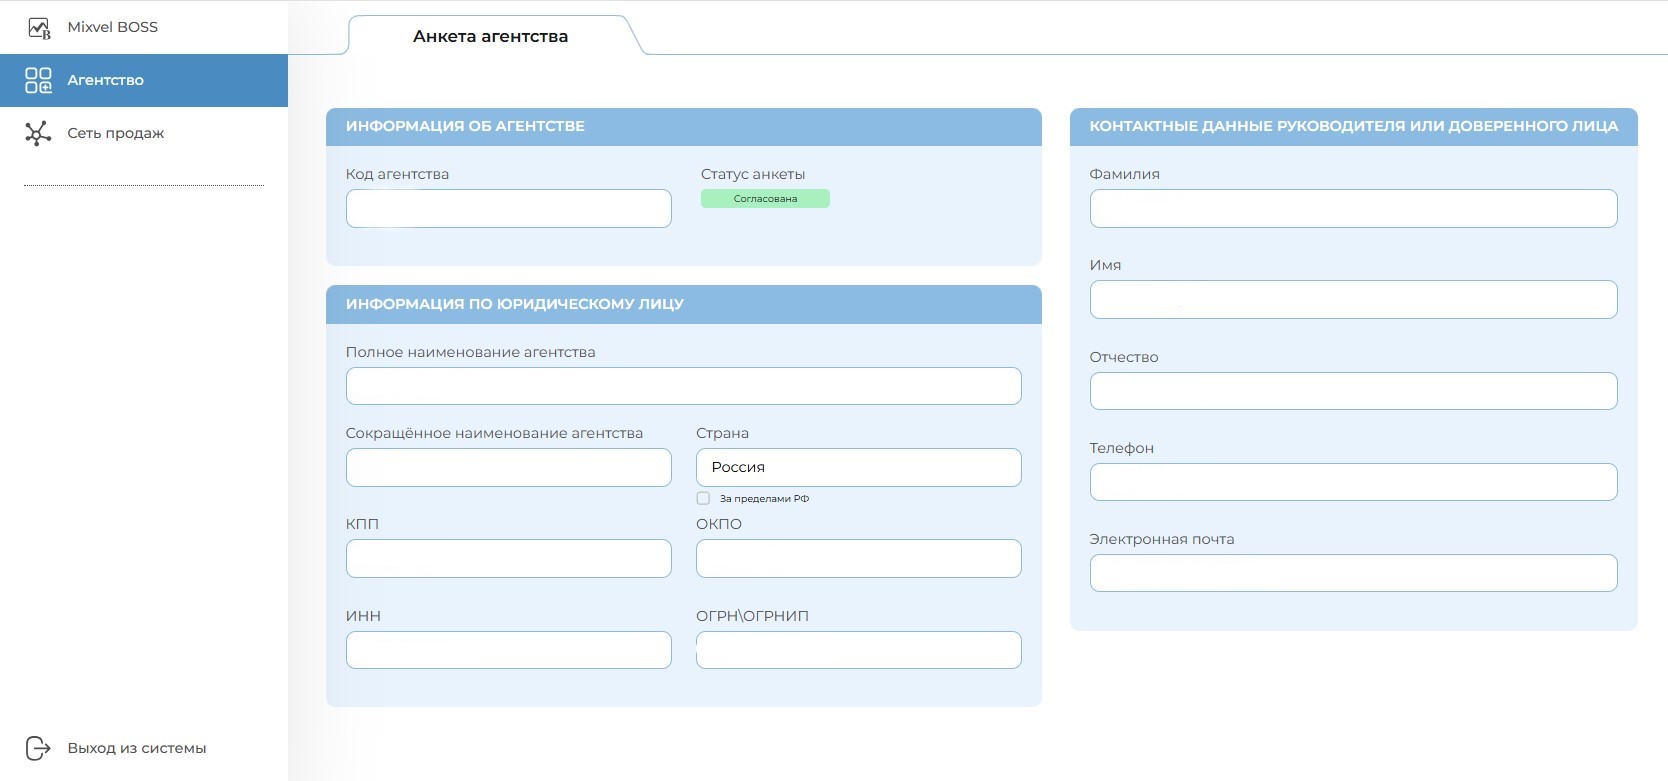
Picture 4. Agency questionnaire («Анкета агентства»)
In the current version of MixVel Boss 2.0 Personal Account the "Agency Questionnaire" («Анкета агентства») (Picture 4) is not available for self-editing. To update the data in the questionnaire it is necessary to contact MixVel technical support department via e-mail: support@mixvel.com.
Sales network – Management of the Agency’s structure in the MixVel environment: creation of Sales Points, Access Credentials, Applications and Users.
In order to set up the Sales Network, it’s necessary to create: Sales Points, Applications (for working in MixVel API) and/or Users (for working in the "Cashier" module) and Credentials.
Sales Points Creation
On the "Sales Network" («Сеть продаж») page, to create a sales point, click the "Add Sales Point" («Добавить пункт продаж») button on the "Sales Points" («Пункты продаж») tab (Picture 5), fill out the form and then click the "Add Sales Point" («Добавить пункт продаж») button again.
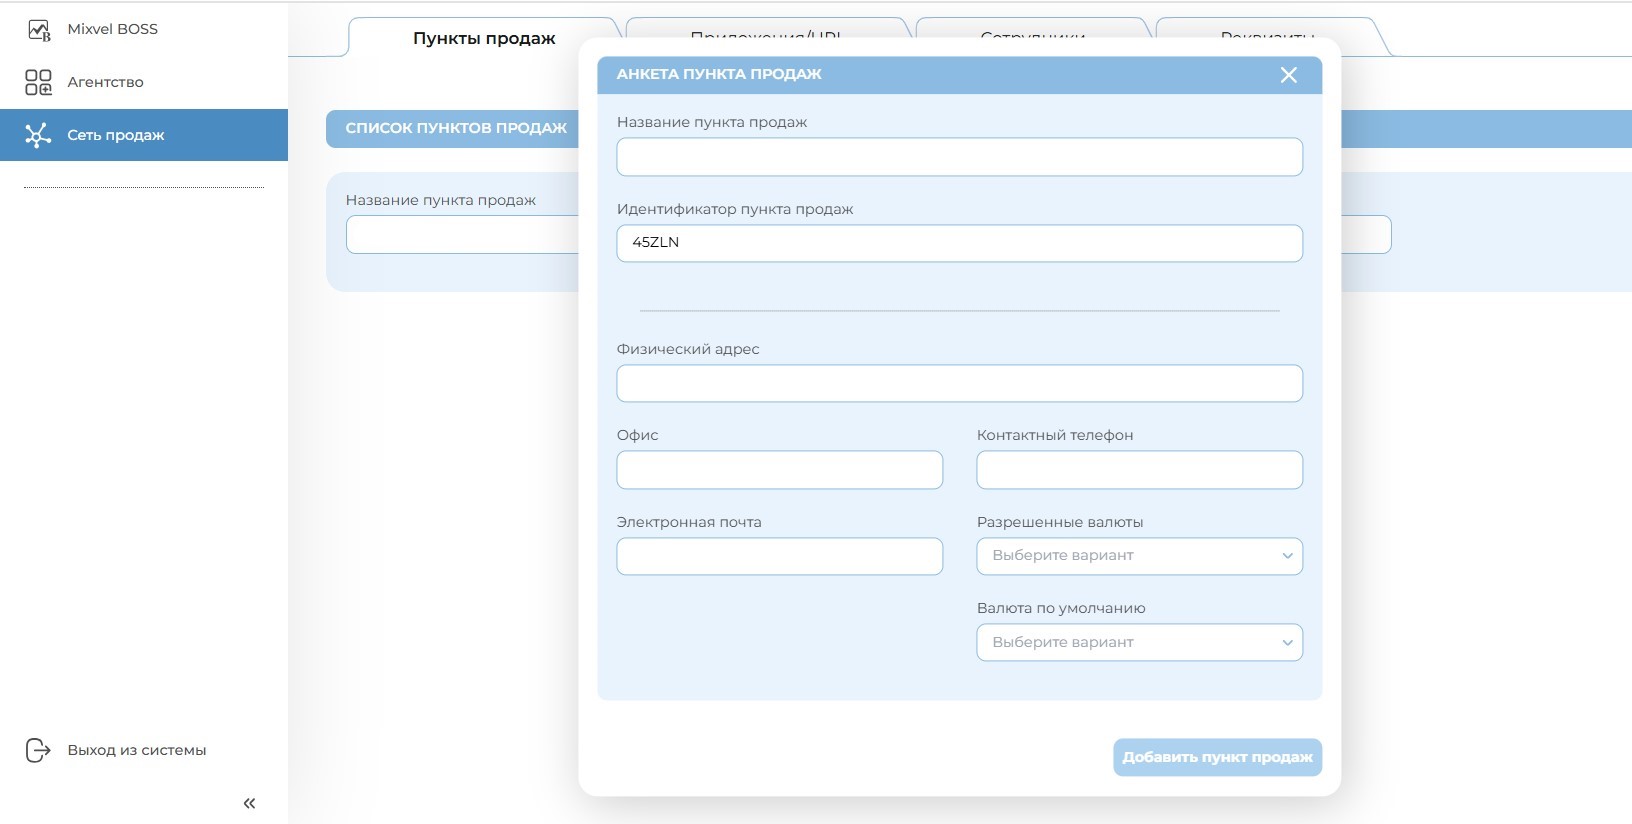
Picture 5. Creation of Sales Points («Пункты продаж»)
Applications/URL Creation (for working in the MixVel API only)
On the "Sales Network" («Сеть продаж») page, to create the аpplication, click the "Add application" («Добавить приложение») button on the "Applications/URL" («Приложения/URL») tab (Picture 6), fill out the form and then click the "Add" («Добавить») button.
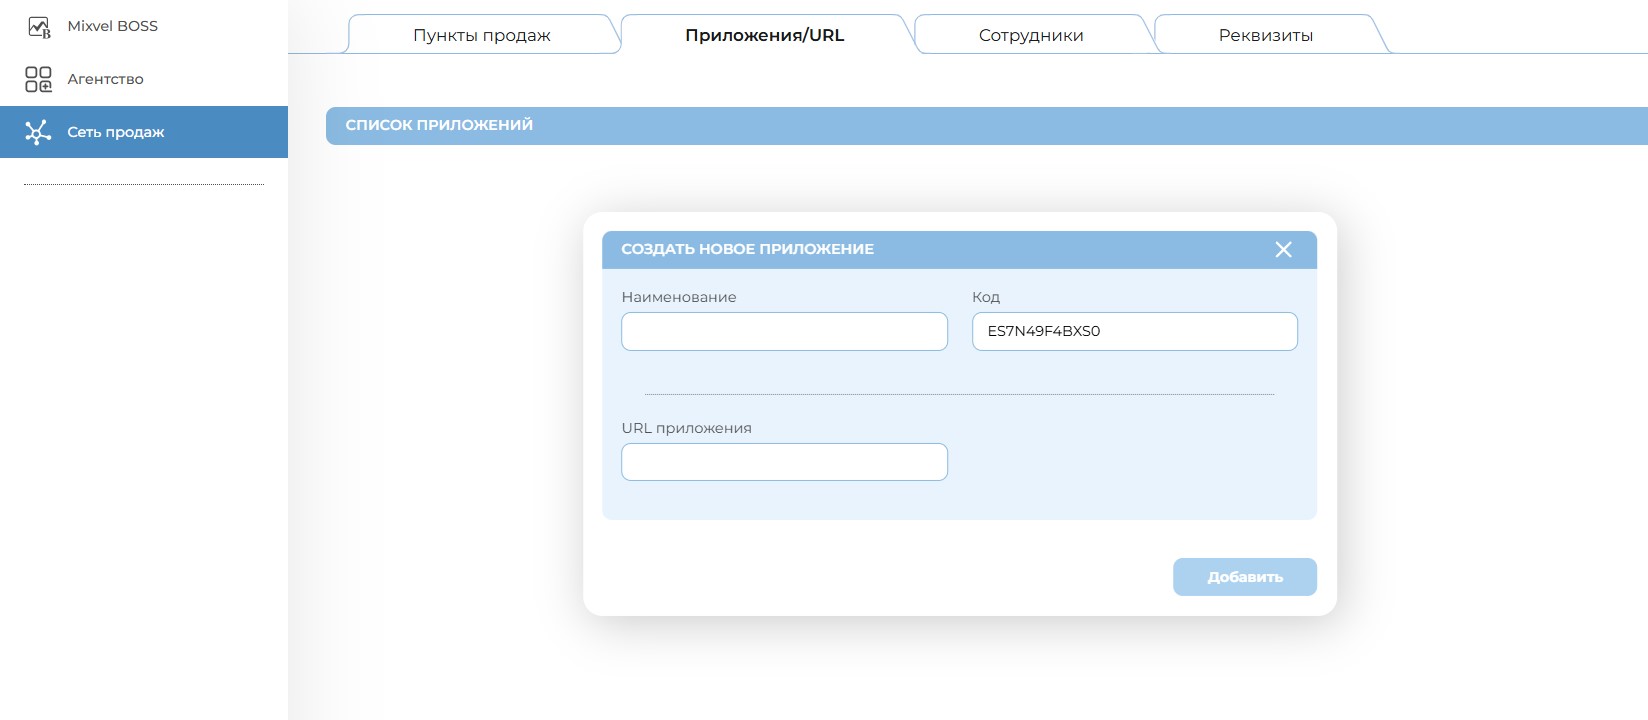
Picture 6. Creation of Applications («Приложения/URL»)
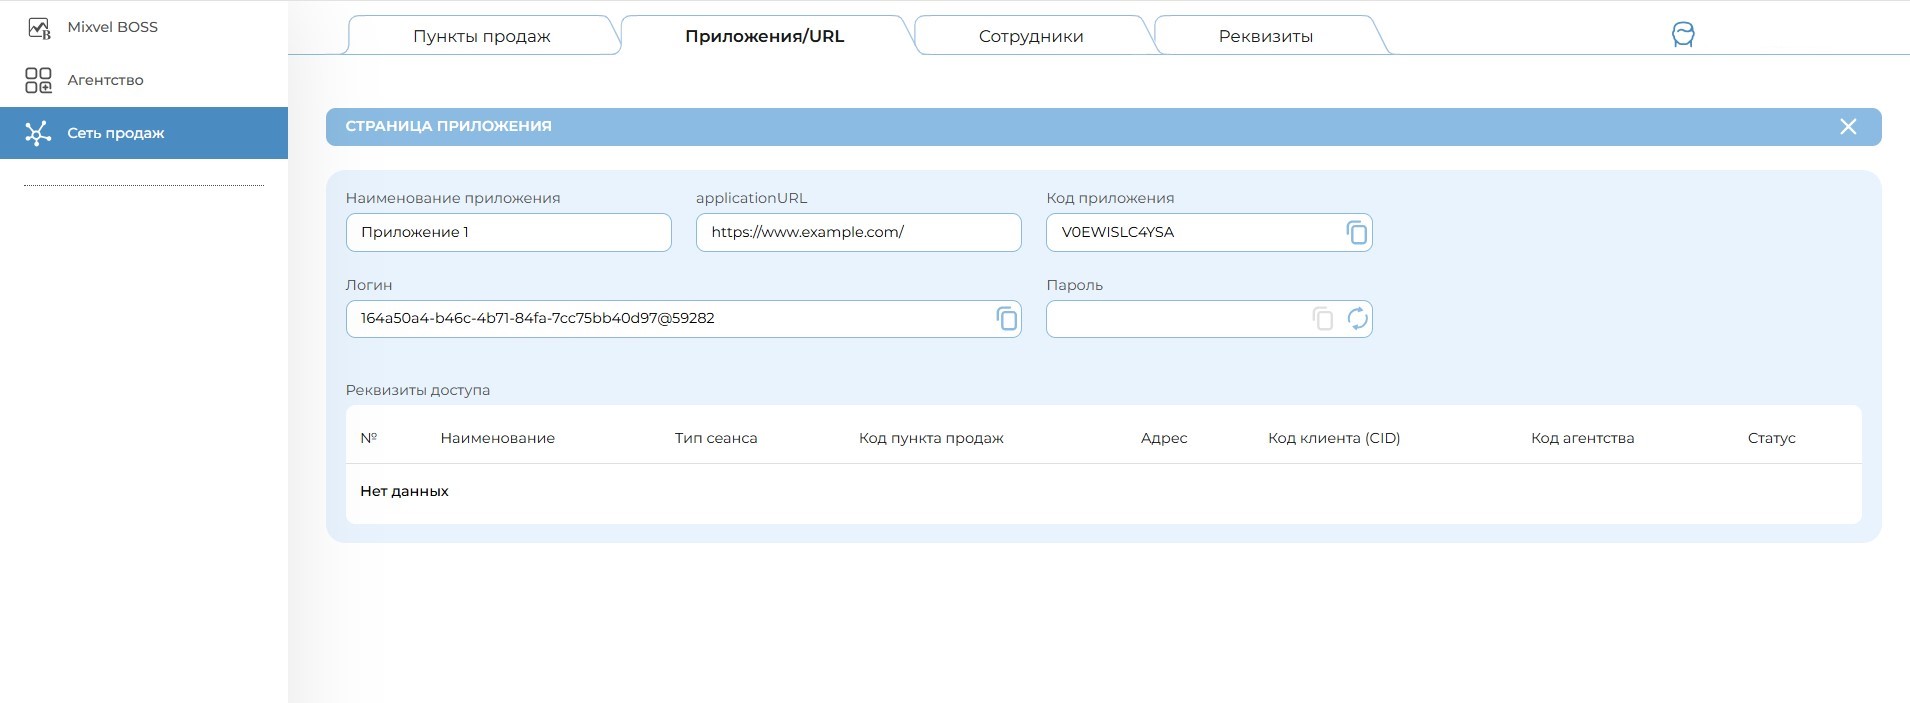
After creating the application, the login and password used for authentication in the MixVel API, will be sent to the email provided during the registration of the MixVel Boss personal account. When you click "View Details" («Просмотр деталей»), you can view, copy or update your authentication credentials (login, password and point of sale code) in the MixVel API (Picture 7).
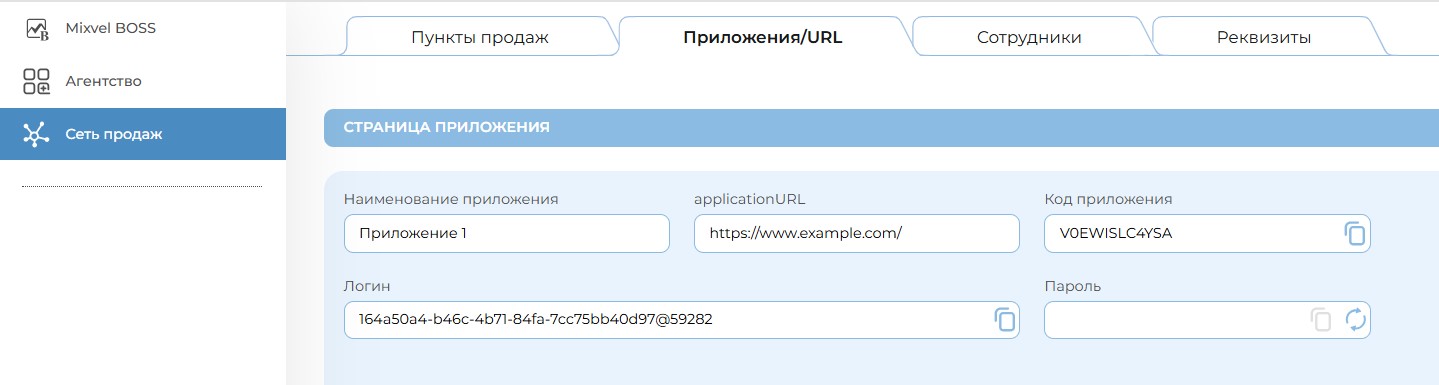
Picture 7. Login and password («Логин и пароль»)
For further password reset one needs to go to the created Application and click “Password reset” («Сброс пароля»), and then copy it to the clipboard.
The agency has quick access to the TCP portal to describe the Application for use in a neutral session. To do this, press the button "Describe the application in TCP" («Описать приложение в ТКП»).
Picture 8. Describe the application in TCP («Описать приложение в ТКП»)
Users adding (for use in the "Cashier" module only)
On the "Sales Network" («Сеть продаж») page, to create the Users (Cashiers), click the "Add User" («Добавить сотрудника») button on the "Users" («Сотрудники») tab (Picture 9), fill out the form and then click the "Add" («Добавить») button.
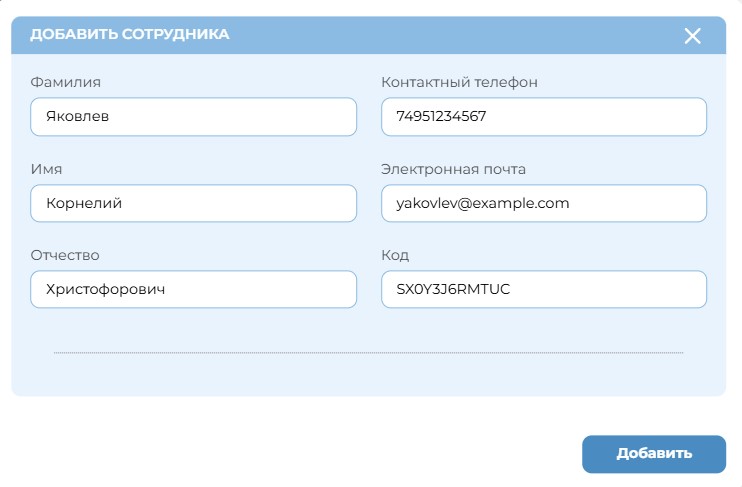
Picture 9. Users («Сотрудники») adding
A link to create a password will be sent to the email of the created user.
Credentials adding
On the "Sales Network" («Сеть продаж») page, to create the Access Credentials, click the "Add Access Credentials" («Добавить реквизиты») button on the "Credentials" («Реквизиты») tab, fill out the form and then click the "Add" («Добавить») button (Picture 10). The fields to be filled in on the questionnaire will be different depending on the session chosen (TCP/Direct) and the way of working (Cashier/Application).
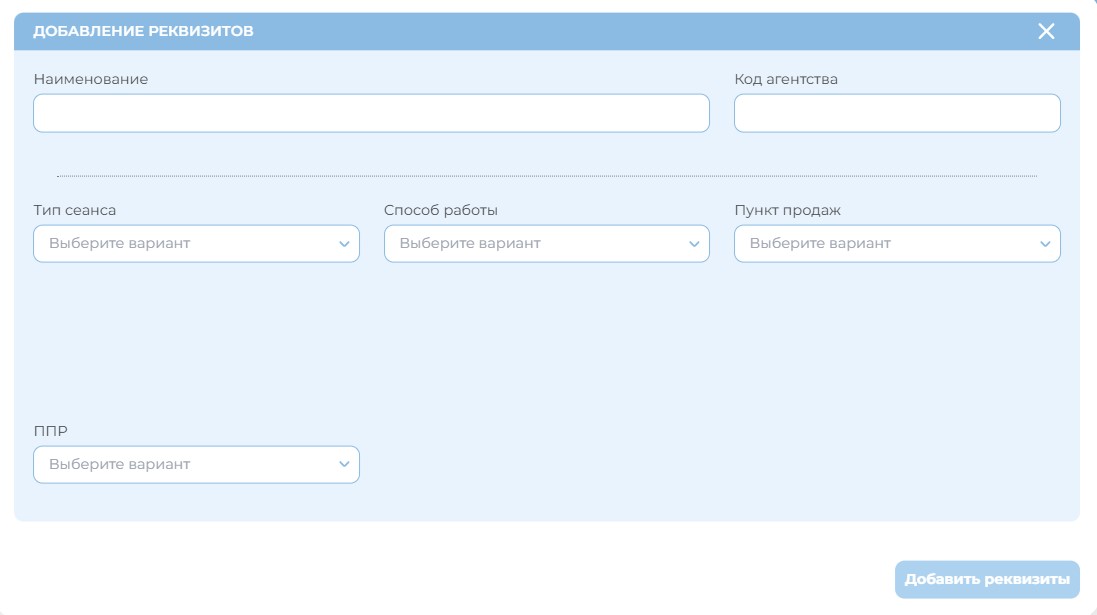
Picture 10. Credentials («Реквизиты») adding
To delete any of the entities (Point of Sale, Application, Access Credentials), you need to open the "View Details" («Просмотр деталей») of the created entity, then click on the "Edit" («Редактировать») button, followed by "Delete ..." («Удалить...»), and confirm the action in the pop-up window by pressing the "Confirm" («Подтвердить») button.
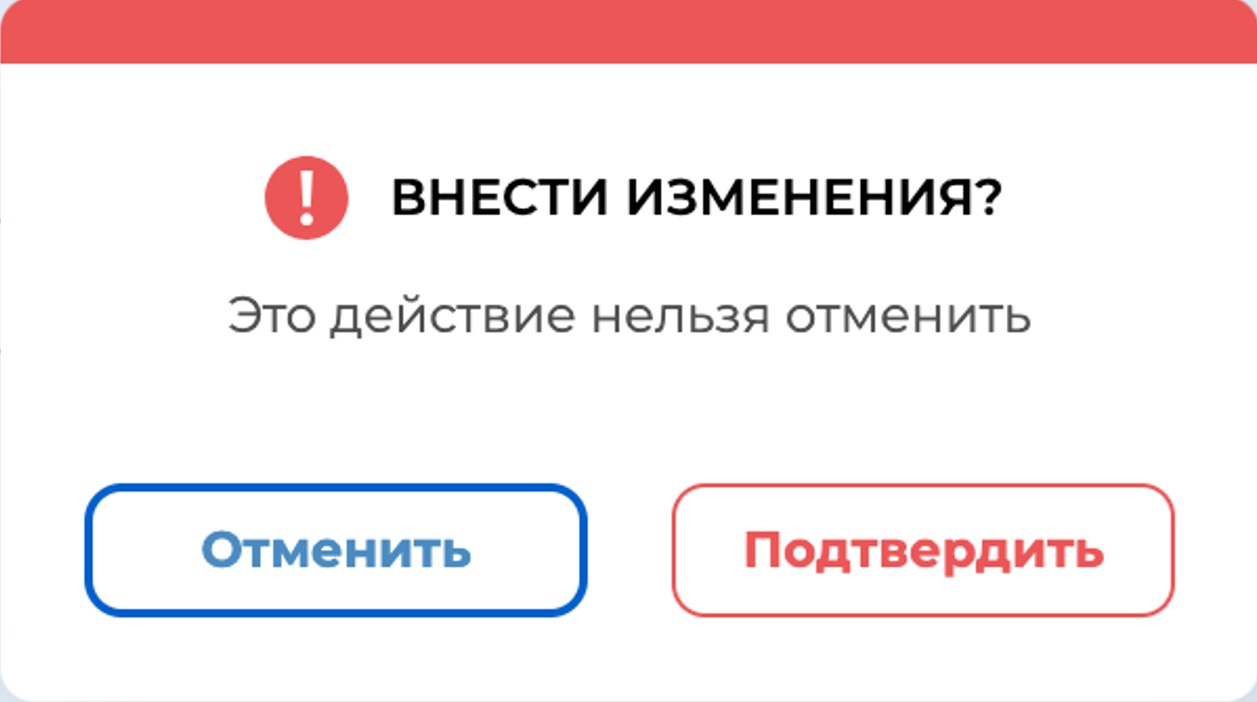
Рисунок 11. Edit
In case of difficulties while using/filling out the MixVel Boss Web Agency Online Account, difficulties with the MixVel API, Cashier module or any other questions about the MixVel environment, the agency can contact the MixVel technical support department via email: support@mixvel.com.